Please note: Connecting to the wifi.sva.edu page to install your certificate, requires that you have a working internet connection. For your convenience, installation of the certificate can be done from anywhere that you have an internet connection – including off-campus. However, if you are attempting to install the certificate for the first time from within the SVA campus, one of the following will have to be done to enable your ability to get to wifi.sva.edu for the onboarding process.
1) Turn your cell phone into a hotspot and connect to it, allowing you to share its internet connection.
2) Use your cell phone or any other internet-connected device to request a guest wireless account and use the generated credentials to log onto the SVA Guest WiFi network.
Once you have established an internet connection on the device in need of the certificate, continue to follow the process below to complete the onboarding process.
Please remember that SVA only supports 802.11a/n or 802.11a/n/ac (5-GHz) wireless devices.
1. From your wireless device, open up a web browser and navigate to wifi.sva.edu.
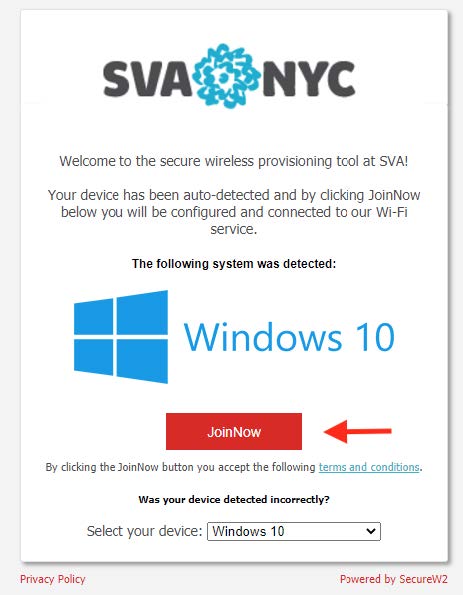
2. You will be greeted by the below page. Click the “Join Now” button.
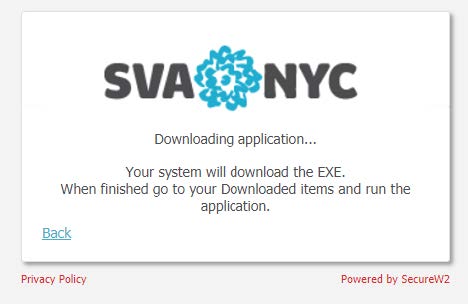
3. The process to download the configuration utility, will begin.
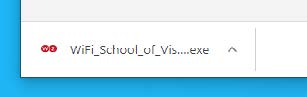
4. Either initiate the installation of the configuration utility from within the browser after successful download (as shown below), or navigate to where the installer file downloaded to, and double-click it to begin the installation (NOTE: if you receive any security warnings about allowing the Secure W2 App to run or make changes, click “Yes”, “Allow”, or any similar acknowledgment).
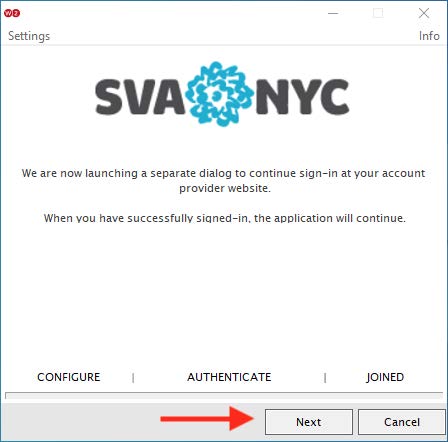
5. The configuration utility shown below, will appear. Click “Next”.
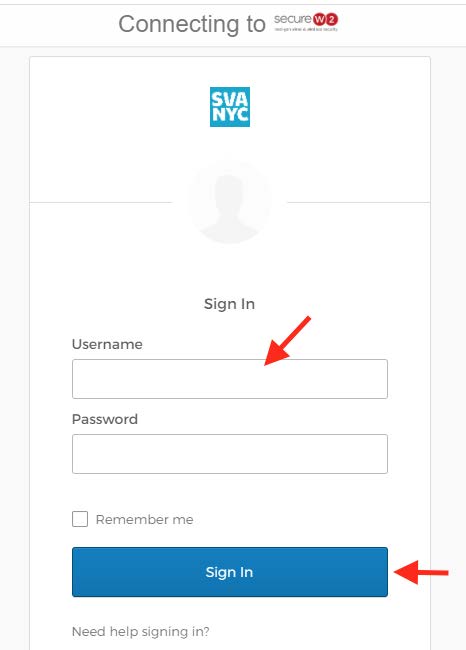
6. You will then be taken to the myID sign-in page. Please fill in your myID credentials and click “Sign In”.
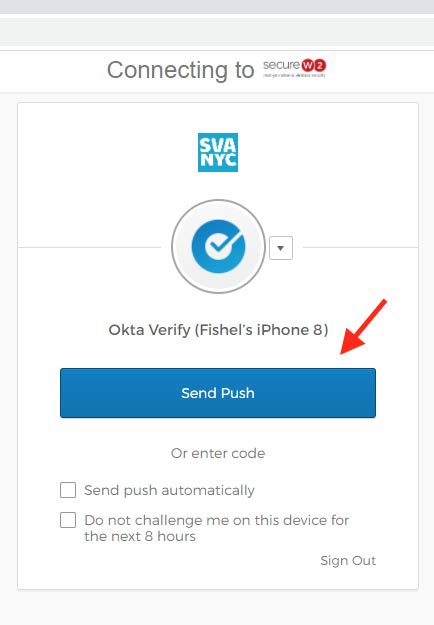
7. Continue with the authentication process. (NOTE: The method of secondary authentication that you have set up for yourself may vary from the one shown below).
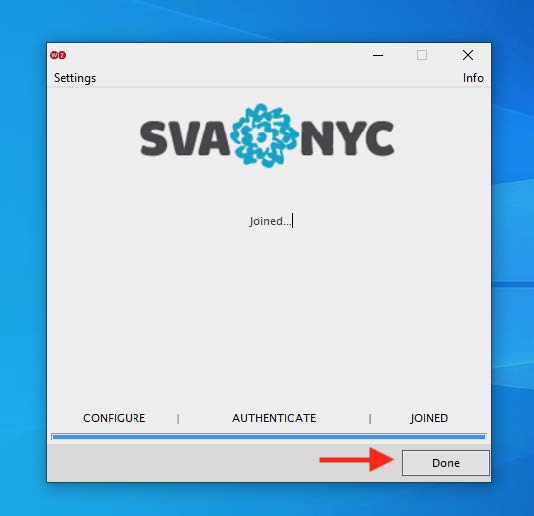
8. After the authentication process, you should see the screen below, indicating that you have successfully configured your computer to join the “SVA Secure WiFi” SSID.
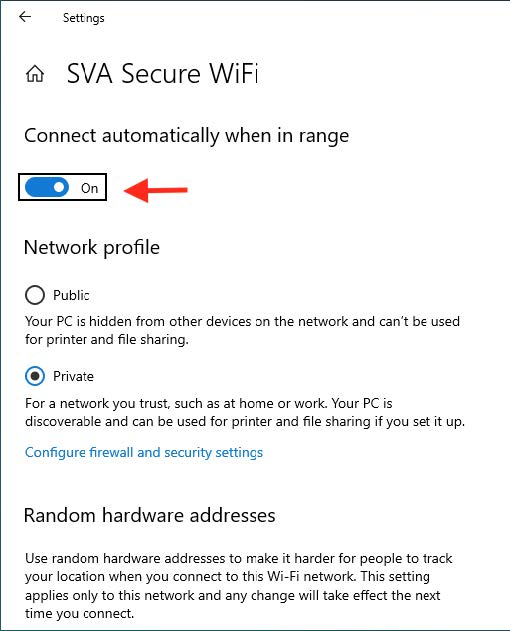
9. Next, navigate to the list of available wireless networks. If it isn’t already connected to it, locate the SSID “SVA Secure WiFi”, and select it (NOTE: If you are preparing your device to connect to SVA’s secure wireless network when you are off-campus, you will not see the “SVA Secure WiFi” SSID. In this instance, you will need to complete these final steps when on campus).
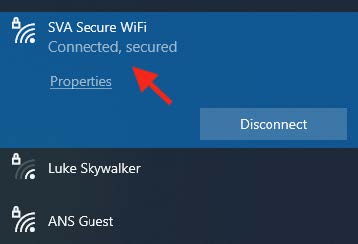
10. Click on the properties link of the SVA Secure WiFi SSID. Once in the properties of the SVA Secure WiFi SSID, confirm that “Connect automatically when in range” is selected.